
Hero Banner terrace
The Hero Banner is the full-width image or video at the top of a terrace page, carrying your logo, your page title, and an optional call-to-action message.
It is always pinned to the top and is the one terrace with no Move Up or Move Down option.
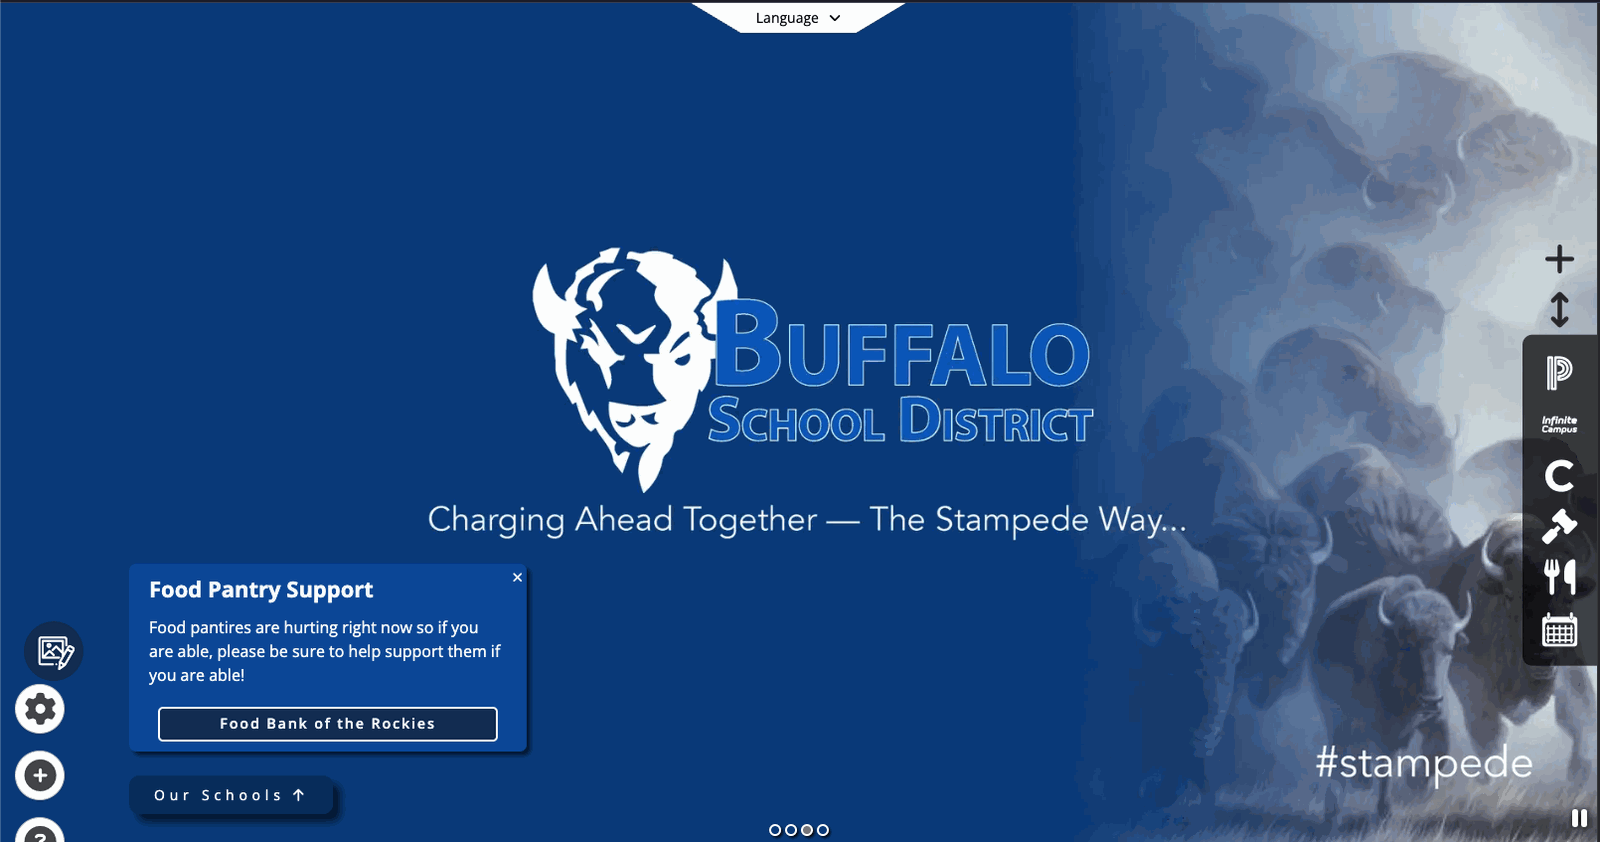
Turn it on or off
Click the + (Add content) button in the admin menu, click Terrace Menu, then toggle Hero Banner. Turning it off hides the banner and keeps your images, videos, and call-to-action content for when you turn it back on.
Open the hero editor
Click the pencil button on the banner — lower left on a computer, upper left on a phone. It appears only for editors and administrators.
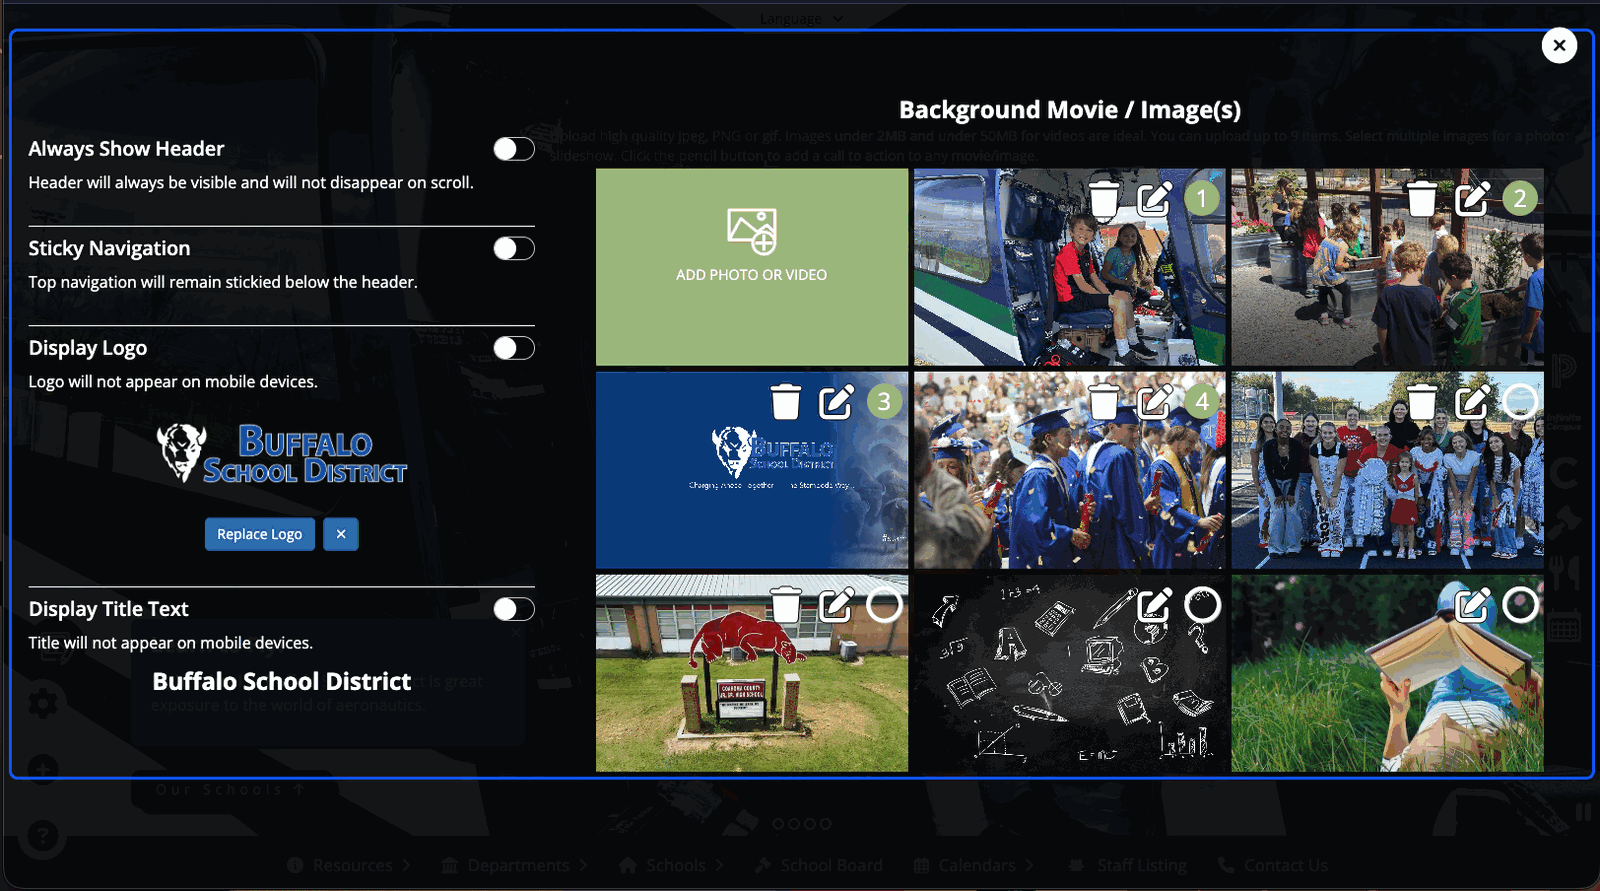
The left side of the editor holds display options. The right side, headed Background Movie / Image(s), is where you choose the media.
Choose the background
Click ADD PHOTO OR VIDEO to upload your own, or pick from the pre-loaded images in the grid. A page holds up to 9 items, and the upload tile disappears once you reach 9.
Uploading an image opens a crop step locked to a 16:9 shape, with a Desktop Preview and a Mobile Preview side by side. The crop box cannot be resized, so drag the image beneath it until the part that matters is inside the box, then click Save.
Each tile has a select button, and selected items are the ones visitors see. When every selected item is an image, a number badge shows the order it appears in. Your own uploads also have a trash button; pre-loaded images can only be deselected.
JPEG, PNG, and GIF images are accepted, and the editor recommends keeping images under 2 MB and videos under 50 MB. Animated GIFs are flattened by the crop step and lose their animation, so use a video instead.
Words printed inside the image cannot be edited later, translated, or read aloud by a screen reader. Put anything visitors need to read in a call-to-action message instead.
Make it a slideshow
Select two or more images. Once every selected item is an image, the banner rotates through them in order, one every 5 seconds, and visitors get a pause button and a row of dots to jump between images.
A video cannot be part of a rotation. If any selected item is a video, the banner shows one item, picked each time the page loads, rather than a slideshow. To run a slideshow, deselect the video.
Add a call to action
A call to action (CTA) is a headline, a short message, and an optional button drawn on top of the banner. Each image and video holds its own, so a slideshow can carry a different message on each slide. Click the pencil on a tile, fill in the fields, then click Save.
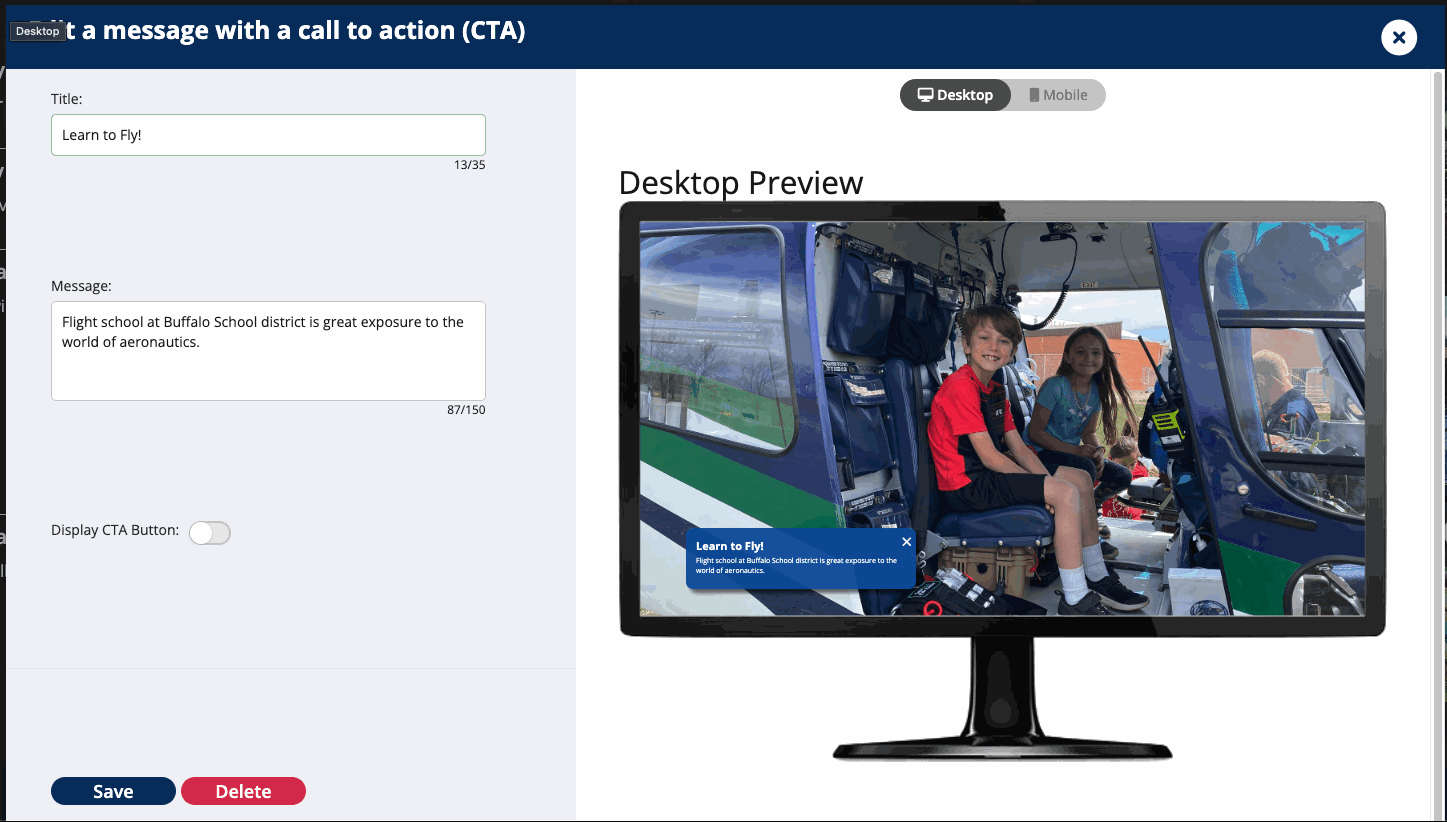
| Field | Limit | Notes |
|---|---|---|
| Title | 35 characters | Required |
| Message | 150 characters | Optional |
| Display CTA Button | — | Off by default. The fields below appear when it is on |
| Button Text | 30 characters | Use an action, such as Apply Today or Enroll Student |
| Button Link Type | — | Internal searches your own pages. External takes a full web address |
| URL | — | Required when the button is on |
The button takes its colors from your site theme; there are no style options. Deleting a CTA, or deselecting a pre-loaded image that has one, deletes the message and its content. The editor warns you first.
Display options
Four toggles sit on the left of the hero editor on a terrace page.
- Always Show Header keeps the top navigation visible instead of letting it disappear as visitors scroll.
- Sticky Navigation pins the main menu bar below the site header, so it floats over the banner. With it off, the bar sits at the bottom of the banner and travels up with the page until it meets the header, where it stays. Either way the bar ends up below the header; the toggle decides where it starts. Left alone, it is on for subpages and off for a site home page, and it never applies to phones or tablets, which use their own menu.
- Display Logo shows or hides your logo. You can also upload or replace the logo here.
- Display Title Text shows or hides the page title.
On a terrace page the logo and the title never appear on phones, whatever these toggles are set to. The editor notes this beneath each one.
The Our Schools menu
On a district or school home page, the banner also carries an Our Schools button listing your other sites, grouped by category with the District group first. It appears only on the top-level page of a site, and only when there are other sites to list. A school missing from the list usually has no category assigned; contact support and we can set it.
Notes and limitations
- Videos start on their own, silently, and loop. Visitors get a play and pause button, and a visitor whose device asks for reduced motion sees the first frame held still instead of playback.
- The banner is shorter and squarer on a phone than on a computer, so keep the subject of an image near the center.
- A site with a separate welcome or splash page manages that page's banner in site settings rather than here, and a welcome page banner cannot have a call to action.
FAQ
- "How do I turn the banner into a slideshow?" Open the hero editor and select more than one image. Every selected item has to be an image; a selected video forces a single background. See Make it a slideshow above.
- "Can I use a YouTube or Vimeo link for the background?" No. The banner takes an uploaded video file. Download the video and upload it, or use the HTML terrace elsewhere on the page for an embedded player.
- "Why will my video not upload?" Videos are compressed after upload and can take a few minutes to appear, so give it a moment first. If it fails, check that the file is under 50 MB; shorten it or lower its resolution if it is larger, and contact support if you would like a hand converting it.
- "How do I change the words printed on our banner image?" If the text is part of the image, it cannot be edited in SchoolBlocks. Upload a new image with the new wording, or use a plain image and put the words in a call-to-action message so you can edit them yourself later.
- "Why is one of our schools missing from the Our Schools menu?" The school's page has no category assigned. Contact support and we can set it.
- "Can different pages have different banners?" Yes. The Hero Banner is set per page, so every terrace page can carry its own.
Last updated: July 2026.